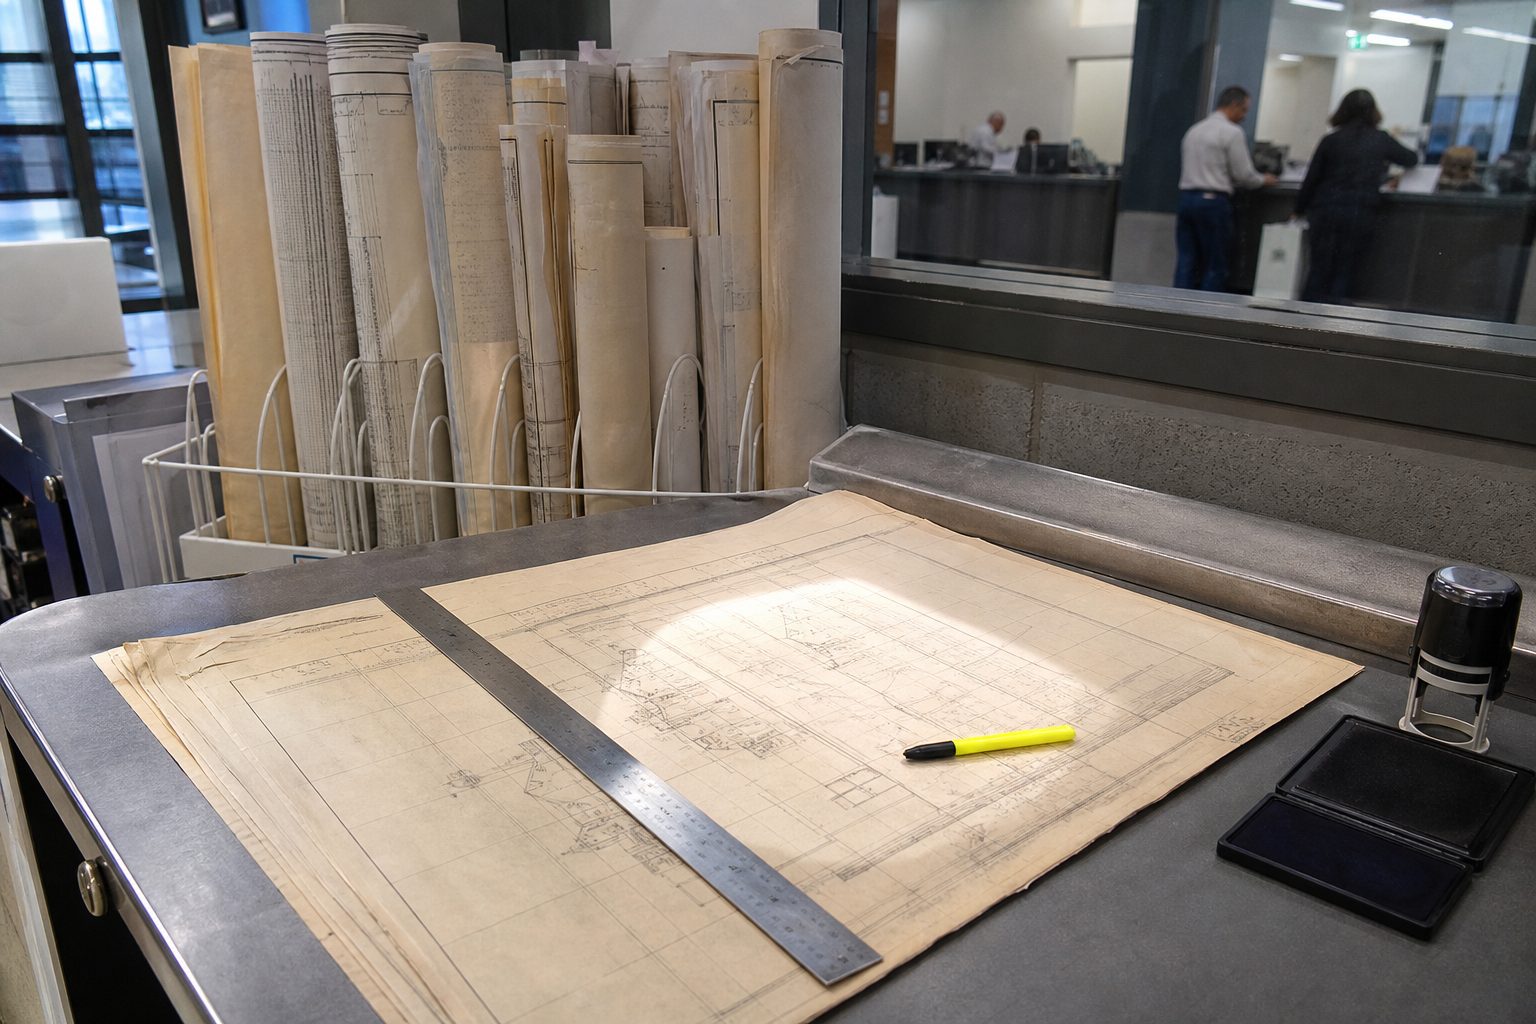
What the intake clerk checks before review even starts
Every contractor knows the feeling: you stand at the permit counter, plans in hand, hoping for a smooth drop-off. But many permits get bounced before a reviewer even looks at the project. The intake clerk acts as a gatekeeper, scanning for missing essentials. They run through a checklist, sometimes literally, before your folder ever makes it to a plan reviewer's desk.
Most cities require a complete permit application, proof of ownership or authorization, full plan sets, and any required fees. Plans missing a title page, contact information, or the correct project address are stopped immediately. An unsigned application or a missing contractor license number is a common cause. If the clerk spots a blank page, a missing sheet index, or incorrect sheet sizes, the application goes back. Incomplete packets go to the bottom of the pile until fixed.
Some shops try to submit digital plans, only to find the city still requires paper copies or a specific PDF format. Others forget the check for plan review fees or fail to include proof of water or sewer availability. Anything missing from this list means your project stalls before it starts. Intake is the least technical part of the process, but it sends more contractors back to the pickup window than most realize.
Keep reading: EPA RRP Rule: What Remodelers Must Document on Pre-1978 Homes
Site plans, setbacks, and lot coverage on an addition
Once your submittal passes the intake desk, the first substantive review for additions is almost always the site plan. Jurisdictions want to see an accurate, scaled drawing of the property showing property lines, existing buildings, proposed additions, driveways, and utility locations. Missing or unclear lot lines are a top reason for delays.
Setbacks are the minimum distances required between the new construction and property boundaries. Many plans get rejected because dimensions from the proposed addition to each property line are not shown, or the measurements are wrong. This is especially true on older properties where fences and actual lot lines do not match. If the addition encroaches on a setback, expect a rejection or a request for a zoning variance.
Lot coverage is another sticking point. Most cities limit the total percentage of the lot that can be covered by buildings. Plan reviewers calculate coverage based on the site plan, so missing or inaccurate footprint calculations can kill a submittal. Failing to show both existing and proposed coverage leads to a call from the city.
Drainage and utility locations
Many plans leave out stormwater drainage paths or do not show how runoff from a new roof will be handled. Some reviewers want to see downspout locations, swales, or percolation pits. Utility lines, water, sewer, gas, electric, must be shown for most additions. Guessing or omitting these details often triggers a request for a revised site plan.
Egress, ceiling height, and stair dimensions on a basement finish
Basement finishes seem straightforward, but they fail plan review at a high rate. Egress is the number one issue. Every sleeping room must have a code-compliant escape window or exterior door. Many plans show existing basement windows without checking the required clear opening size or sill height, so reviewers flag noncompliance.
Ceiling height is another common miss. Residential codes require finished basements to have a minimum ceiling height, usually around seven feet in most states. Ducts, beams, or soffits that reduce headroom below this minimum need to be shown and called out. Plans that ignore these features draw a red pen.
Stairways must meet width, tread depth, riser height, and headroom requirements. Plans that skip a stair section or fail to dimension the rise and run land in the reject pile. Guardrails and handrails must be clearly shown on the plans, not just noted in the specs. Basements with existing stairs often need modifications, which must be detailed in the submittal.
Smoke alarms and carbon monoxide detectors
Plan reviewers also look for the location of required smoke and CO alarms. These must be marked on the plans, not just installed in the field. A missing detector symbol is enough to hold up a permit, especially in conversions to sleeping space.
Keep reading: How to Write a Change Order That Holds Up When Payment Stalls
Header schedules, beam calculations, and when a stamp is required
For any structural work, removing walls, adding beams, opening up floor plans, reviewers look closely at headers and beams. A schedule listing all header and beam sizes, materials, and spans is required. Many plans get rejected for calling out "per code" instead of specifying member sizes. Reviewers do not size headers for you.
Openings over a certain width, or beams supporting concentrated loads, typically require engineered calculations. Some cities demand calculations for any beam over a set span, often six feet. If you submit a plan with a large opening and no calculations, expect a correction notice.
When does a registered engineer need to stamp the plans? Most jurisdictions require a stamp for beams supporting more than one floor, complex load paths, or unusual framing conditions. Removing more than one bearing wall, adding steel, or using engineered lumber outside prescriptive tables usually triggers this requirement.
Shear walls and lateral bracing
If your work affects exterior walls or adds large window or door openings, expect questions about lateral bracing. Many shops miss the need for a shear wall schedule or leave out hold-down locations. Reviewers want to see details, not just a note.
Energy code compliance paths and the form that is always missing
Every residential project must show how it will comply with the energy code. There are several paths: prescriptive, performance, or via a third-party software model. Most simple remodels use the prescriptive path, listing insulation values, window U-factors, and mechanical system specs directly on the plans.
The most frequent rejection? A missing or incomplete energy compliance form. Most states require a specific worksheet or checklist to be filled out and attached to the plan set. These forms ask for window performance, insulation R-values, and the type of heating and cooling equipment. Many contractors include some notes on the plans but forget the official form.
Projects that add conditioned space or alter mechanical systems often require a manual J load calculation or a duct layout. These are easy to overlook, especially on small additions. Cities do not accept "same as existing" for new rooms or new HVAC equipment.
Lighting and ventilation controls
Energy codes now require high-efficacy lighting, controls on exhaust fans, and sometimes solar-ready provisions. These must be shown clearly. Reviewers check for labeled lighting types, bath fan timers, and, where required, wiring for future solar panels. Leaving these off the plans creates delays.
See how ToolboxProof handles this for residential contracting and remodeling
Existing versus proposed plans and square footage that must match
One of the most basic, but most commonly missed, requirements is a clear "existing conditions" plan. Reviewers want a floor plan showing what is there now, not just the proposed changes. Many submittals show only the finished layout, leaving the reviewer to guess what walls, doors, or windows are being removed or added.
Proposed plans must match the existing in terms of what is being modified. If a wall is shown removed on the proposed plan but not shown on the existing, the reviewer cannot verify the scope. Discrepancies between the two sets of plans lead to immediate corrections.
Square footage calculations must match between sheets. Plan reviewers check the numbers for each floor, addition, or remodeled area. Many shops forget to update the areas after revising their plans, causing confusion and delays. If the existing and proposed square footage do not line up, the reviewer will hold the permit until clarified.
Demolition scope and phasing
On larger jobs, reviewers look for a demolition plan or a phasing schedule. Missing demolition notes or unclear sequencing can trigger questions, especially when structural changes are involved. Even for small remodels, the city wants to see how you plan to separate work areas and protect existing portions of the home.
Resubmittal, the review clock, and how to talk to a plan checker
Once you receive comments or corrections, the clock starts ticking. Most cities have a fixed period, often 30 to 90 days, to respond with revised plans or clarifications. If you wait too long, your application may be voided and you have to start over. This is a major setback for busy shops.
The best way to speed up resubmittal is to respond to every comment individually. Use a cover letter or a comment-response sheet that matches the reviewer's list point for point. This helps the plan checker see that you addressed each issue. Re-submitting without notes or explanations almost always leads to another round of comments.
When talking to a plan checker, be direct and specific. Bring marked-up plans, photos, or cut sheets to explain your approach. Most reviewers are willing to answer questions by phone or email, but showing up at the counter with detailed information gets better results. Avoid arguing about code interpretations unless you have documentation to support your case.
Appeals and variance requests
If you disagree with a reviewer's interpretation, there is usually an appeals process. This takes time and requires a formal submission, sometimes with fees. Most contractors succeed by fixing the plans rather than fighting city hall, but appeals are an option when the stakes are high.
Deferred submittals and what can be resolved in the field
Not every detail must be locked down at the initial plan review. Many jurisdictions allow deferred submittals for items such as truss engineering, steel connection details, or shop drawings for specialty systems. This means you can get a permit and start work, as long as you submit the required details before installation. The plans must call out which elements are deferred and note that final approval is required before covering up the work.
Some minor issues can be resolved in the field with the inspector. These might include minor framing tweaks, insulation substitutions, or exact fixture locations within a room. However, structural changes, code-required egress, or energy compliance elements almost always require a formal plan revision. Counting on the inspector to "just approve it on site" is risky, and many get burned when as-built conditions do not match the permitted plans.
Deferred submittals should be listed clearly on the permit documents, with a description of what will be provided later. Failing to note this can lead to a stop work order or a failed inspection. It is better to over-communicate and keep the reviewer informed than to try to fix it later.
Keeping a clear record of existing conditions, demolition, and proposed work makes the review and inspection process smoother. Digital tools that capture site photos, organize project documentation, and automatically generate before-and-after reports can save time at each stage. When inspectors and plan reviewers can see exactly what was on site and what was changed, approvals go faster and corrections drop. This approach, now used by many shops, often starts with jobsite photo capture and ends with a signed client report.