What to settle before you call for the rough in inspection
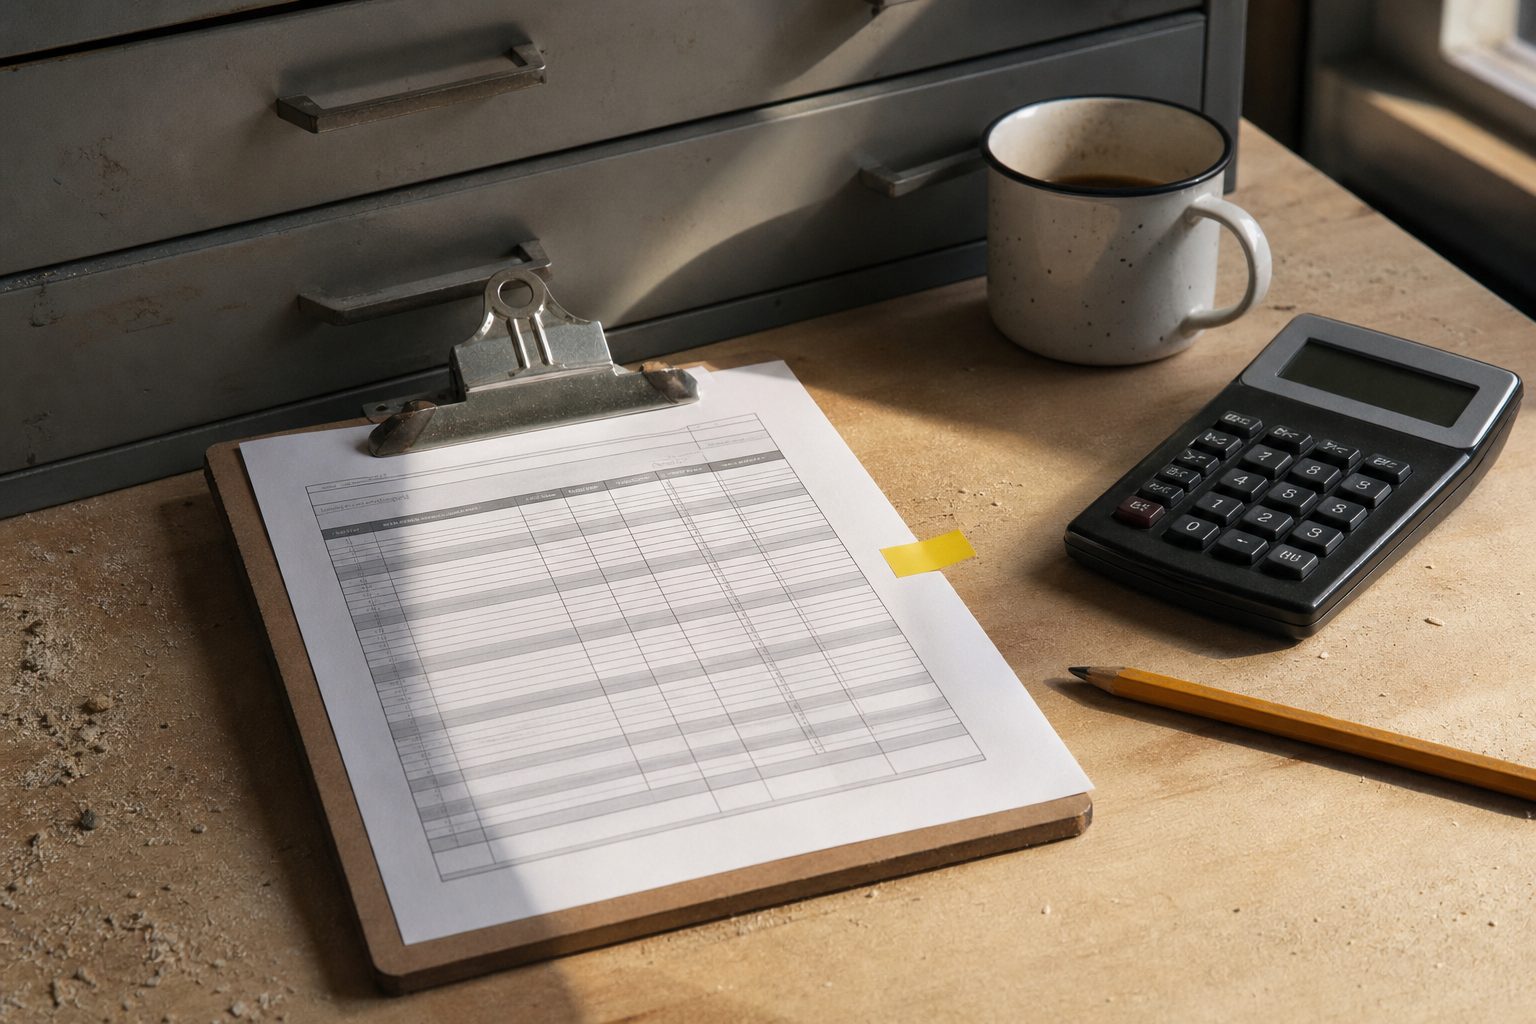
A pre drywall walkthrough is not just about passing inspection. It is about protecting your crew and your business from callbacks and client disputes. Before you invite the inspector, make sure every trade has finished its rough in and knows you are at the checkpoint. Walk the site with your lead carpenter and the job folder. Bring a roll of blue tape and a pad for notes.
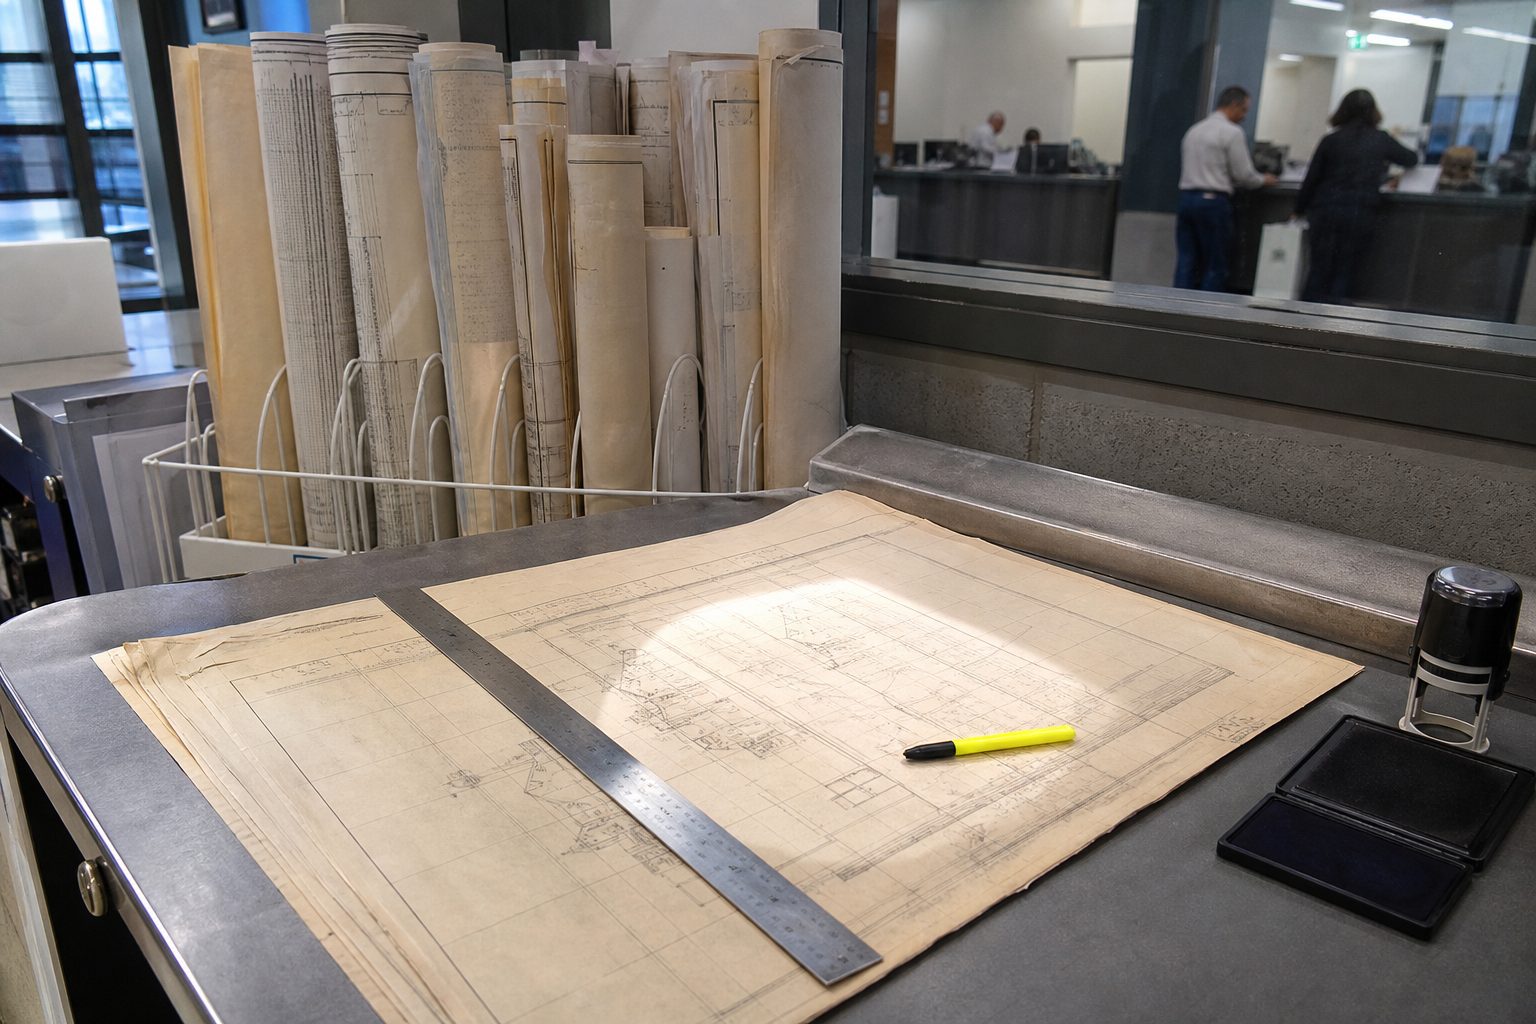
Settle all change orders, and confirm the latest plans are on site. If a wall or opening moved after the last walk, check that everyone knows. Make sure the client has signed off on all placement decisions: outlet heights, light locations, plumbing fixtures, and vent terminations. This avoids scrambling for answers mid-inspection.
Label every space. A strip of tape with "Powder Room" or "Bedroom 2" saves confusion for subs and inspectors. Confirm that everyone, from electrician to drywall hanger, is using the same names for each area. Take five minutes to verify that material deliveries, tubs, vents, specialty blocking, are on site or scheduled to arrive before insulation.
Keep reading: Markup vs. Margin: Setting an Hourly Rate That Covers Burden
Framing: headers, blocking, fire blocking, and notched studs
Framing is usually the first thing an inspector sees, and the easiest place to catch a costly miss. Start with headers. Every opening must have the correct size and load path, sized per the span. Check for proper bearing and fasteners. If you have engineered lumber, verify the manufacturer specs are followed.
Blocking: for fixtures and finishes
Work from the finish schedule. Add blocking for towel bars, grab bars, cabinets, vanities, and doors. Shower heads and hand-helds need backing. Don't forget closet rods, shelves, and heavy mirrors. Mark blocking heights on the studs with permanent marker, not just tape.
Fire blocking and draft stopping
Inspect for fire blocking at all floor levels, tops of walls, and between vertical and horizontal cavities. In basements, check soffits and dropped ceilings. Seal penetrations with approved material. If a stud bay runs from basement to attic, it needs to be blocked. Draft stopping slows fire spread and is required in most codes.
Notched and bored studs
Measure notches and holes. No bore hole can be closer than 5/8 inch to the edge of a stud. Notches must be within code limits: usually not more than one quarter of the width for load-bearing, or one third for non-load-bearing. Add nail plates over any notches or holes in top plates and studs, especially where plumbing or wiring passes through. Double check that structural members are not compromised.
Plumbing: slope, cleanouts, pressure test, and vent routing
Plumbing rough in mistakes can be invisible until drywall is up and leaks damage the project. Start with slope. Drain lines need consistent fall, typically one quarter inch per foot for pipes up to three inches. Check every run with a level, not just your eye. Any back-pitch risks slow drainage or clogs.
Cleanouts and pressure test
Verify that cleanouts are installed at every code-required location, facing accessible directions. Confirm there is space to open the cover after finishes are installed. Before insulation, the entire system must be pressure tested, either water or air. Walk with the plumber and the gauge to confirm no leaks or pressure drops.
Vent routing and support
Plumbing vents must run to the outdoors and clear the roof by the required height. Avoid flat vent runs, which can lead to condensation and blockages. Use approved supports to keep all pipes securely fastened to framing. If any vent lines are run in exterior walls, confirm they are insulated to prevent freezing.
Finally, check for nail plates over all pipes within one and a half inches of the stud face. This is a detail that often gets missed and leads to punctures during drywall or trim installation.
Keep reading: At the Permit Counter: Why Residential Plan Sets Get Rejected
Electrical: box fill, nail plates, grounding, and circuit labeling
Electrical issues are common sources of inspection fails and callbacks. Start with box fill. Every box must be sized for the number of wires and devices it contains. Count each wire and device, confirm box fill ratings, and install deeper boxes where necessary. Overfilled boxes are a fire risk and not code compliant.
Nail plates and wire protection
All wiring within one and a quarter inches of a stud face needs a steel nail plate. Walk every wall and look for cables passing through notches or bored holes. Nail plates should sit flush and cover the full area at risk. This prevents drywall screws from damaging wires.
Grounding and circuit labeling
Every metal box must be grounded, and all grounds connected with approved wire nuts or crimp sleeves. If there is a subpanel, the ground and neutral must be isolated. Label every circuit in the panel. Use a printed panel schedule, not just handwriting. Mark the circuit number on each box, especially for multi-gang boxes and three-way switch runs. This saves hours of troubleshooting later.
HVAC: duct sealing, return paths, and combustion air
HVAC rough in is about airflow and safety. Start with duct sealing. All joints must be sealed with mastic or approved tape. No unsealed seams or disconnected boots. Insulate ducts in unconditioned spaces. Check for crimped or crushed flex duct.
Return path integrity
Every supply needs a return path. Confirm return ducts are sized correctly and open to each conditioned room. Avoid panned joists unless code allows. Seal all return chases against air leakage. In tight homes, verify pressure balancing between rooms.
Combustion air and vent terminations
If there is gas equipment, check for dedicated combustion air and venting to the outside. Terminations must clear windows and doors by the minimum distance. Mark vent locations on exterior sheathing so the crew can find them after siding. Seal all penetrations to weather.
See how ToolboxProof handles this for residential contracting and remodeling
Insulation and air sealing checks that must happen in order
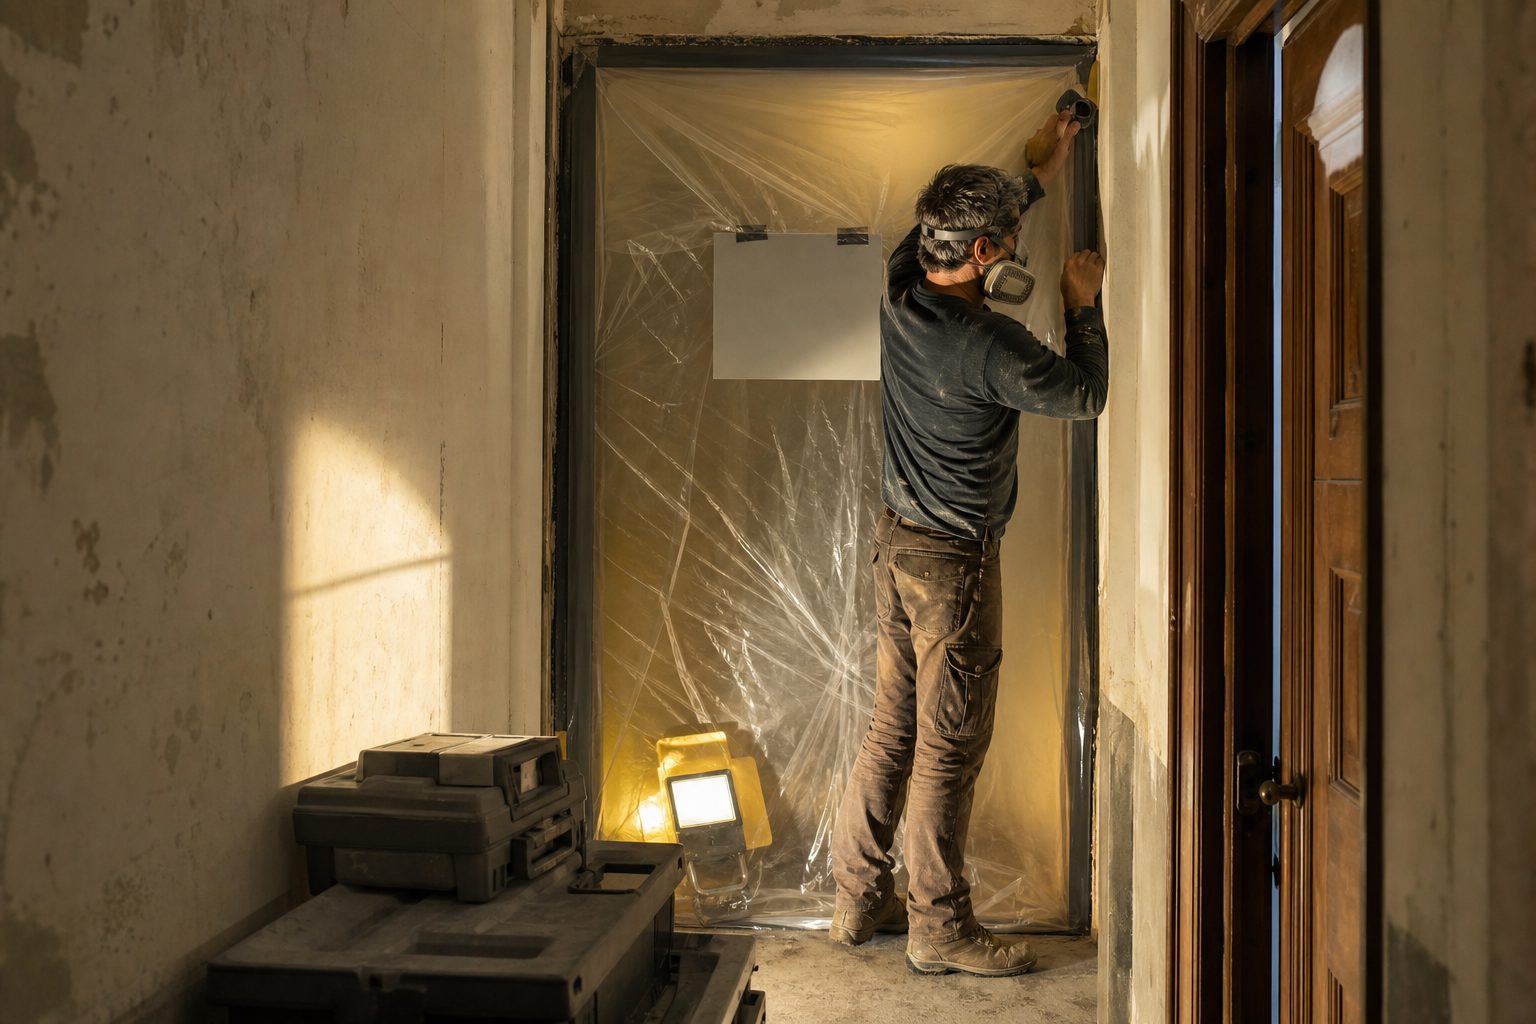
The last chance for effective air sealing is before insulation. Walk with a can of foam and check every opening. Seal top plates, bottom plates, wiring and pipe penetrations, and rim joists. Use fire-rated foam or caulk where code requires.
Check window and door insulation. Make sure every exterior wall bay is clear and ready to take insulation. Batts should fit snug with no gaps, voids, or compression. For blown-in systems, confirm netting is up and ready. In cathedral ceilings, verify baffles are in place to keep insulation off roof sheathing and maintain ventilation paths.
If there is spray foam, confirm the installer has proper clearance for wires and boxes. Ask for the insulation certificate before drywall goes up. Take photos of all critical areas: rim joists, attic access, and any unusual assemblies.
The photo pass: one framed angle per stud bay, wall by wall
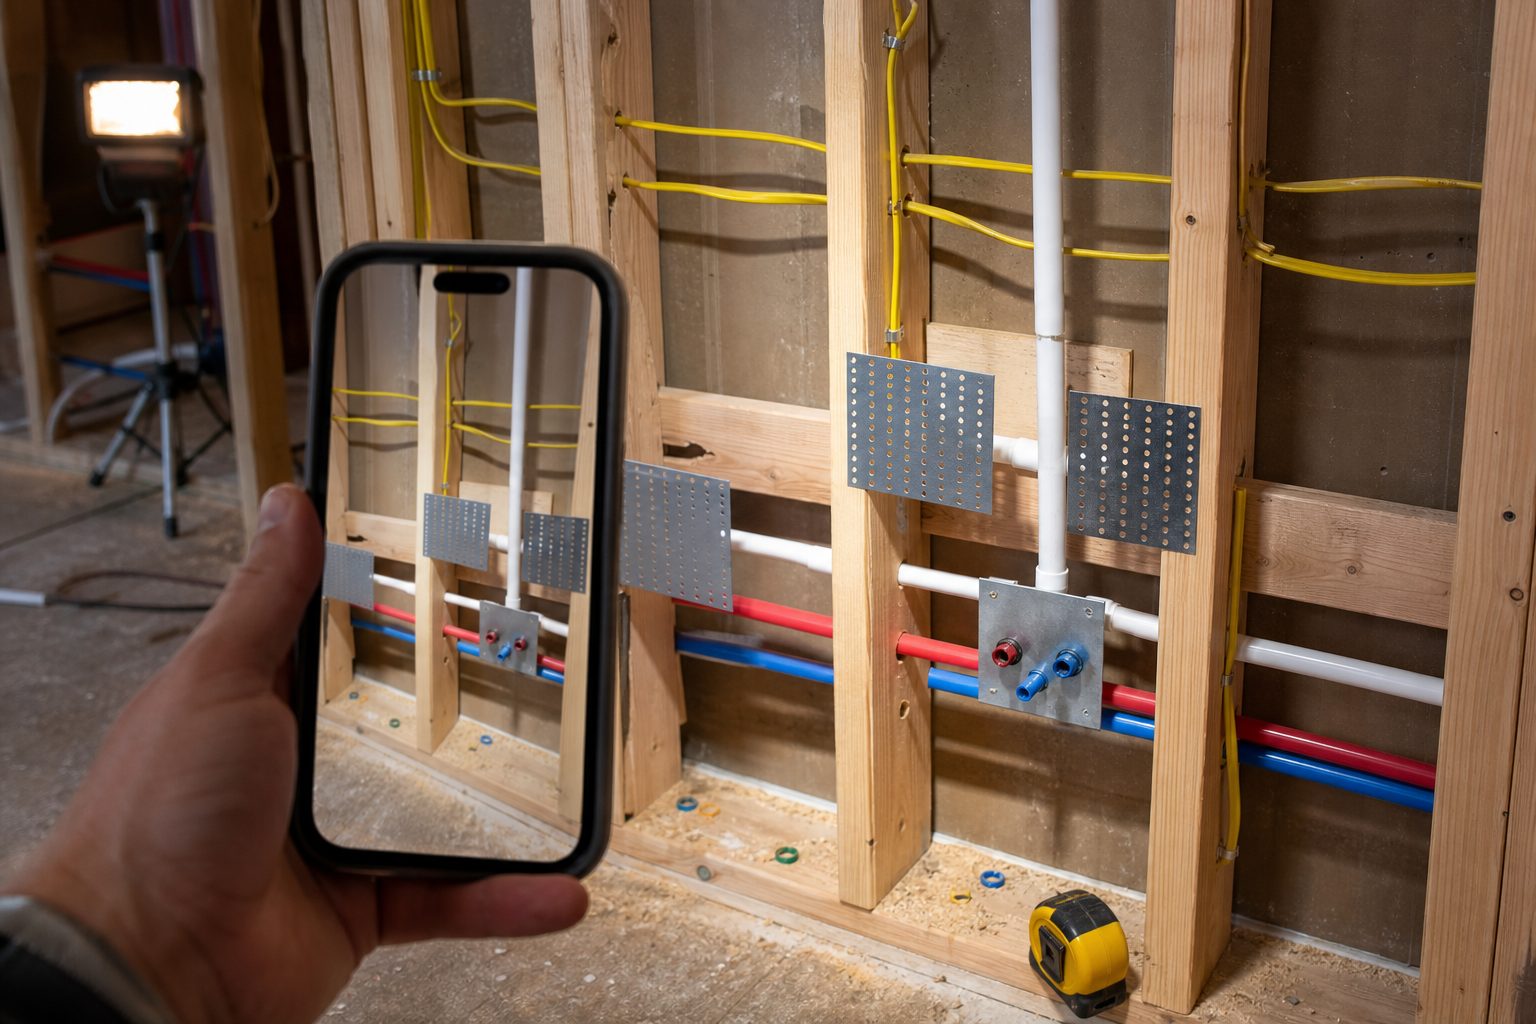
A thorough photo pass is your record if there is ever a question about what is behind the drywall. After all checks are complete, walk each room wall by wall. Stand back and frame one photo per stud bay. Capture every detail: wiring, blocking, nail plates, and labeled boxes.
Take wide angle shots of each wall, then close ups of tricky areas: plumbing stacks, stacked wires, and vent chases. For ceilings, shoot each joist bay before insulation. Photograph mechanical chases, soffits, and every penetration through the thermal envelope. Mark each photo with the room name and wall location.
Repeat for every floor, including basements and attics. This record is invaluable for future work. It shows exactly where everything is, no guessing or wall scanning needed. Store photos in a project folder that is accessible to your crew and the client.
Handing the client the record before the rock goes up
Before insulation and drywall, walk the site with your client. Bring your checklist and your photo record. Show them every detail: blocking for towel bars and TVs, plumbing lines with cleanouts, electrical boxes, and vent terminations. Answer questions and note any last requests.
Ask the client to sign off on the walkthrough. This is the moment to confirm that all design choices and field changes are in place. Provide them with the photo record. Explain how it will help with future repairs or upgrades. This step closes the loop and builds trust.
A structured workflow, walkthrough, checklist, and photo pass, makes pre drywall inspections thorough and defensible. Digital tools that capture site photos, generate before and after reports, and allow for live client sign off help remodelers keep a permanent project record. ToolboxProof is one such tool that puts all of this in one place, making the process straightforward and organized.